Our Services

100% Secure Payment
Customer Data Protected

Guaranteed Return
14 Days to Return Your Order

Expert Support
Personalised Attention

Fast Delivery
Shipping Across Europe

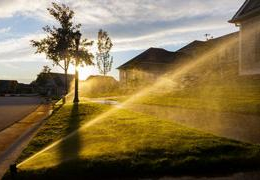
Connect solenoid valves to the irrigation programmer
Hello everyone, as the owner of the website www.https://latiendadeljardin.com/ , I'm going to give you some basic information on how to install your irrigation controller on the solenoid valve.
Often, once customers have purchased their automatic irrigation system, they ask us, "How do I connect the solenoid valves to my controller?"
Well, it's very simple. I'm going to explain it step by step so that anyone who isn't used to making an irrigation connection can do it quickly and easily.
We assume that all electric irrigation controllers on the market have similar connection characteristics. The only difference is the internal design, but the pins are the same.
First, look at the following diagram:
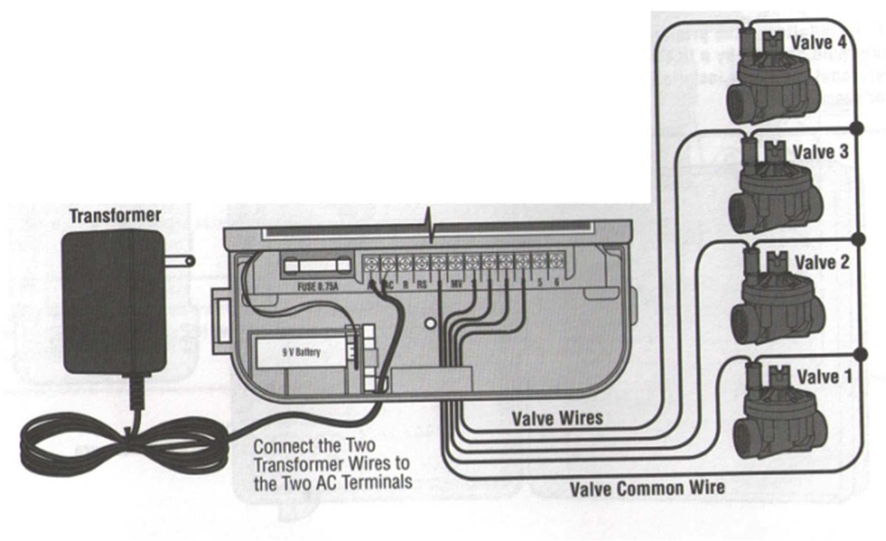
Ready? Well, let's continue... 24V alternating current (AC) solenoid valves are characterized by having two wires of the same color, so they work like any household appliance, allowing you to plug the plug into any position. The solenoid valves do the same thing, but inside the timer. This is because the irrigation controller has the transformer and outputs the current to the electrical grid.
By this I simply mean that you should take one of the solenoid valve wires and insert it into the common terminal of the controller (usually defined by a C), and the other wire into position 1 of the controller. This same thing is repeated if you have several irrigation zones, let's imagine you have 3, then one wire from solenoid valves 1, 2 and 3 must be connected to the common terminal (I recommend a terminal block or watertight connectors ) and the other wires to zones 1, 2 and 3 of your controller.
With this, you've now connected all the solenoid valve cables and can begin programming irrigation for the time slots you want.
If you have any other questions or concerns, please email us at https://latiendadeljardin.com/ or call +34 640908975.
Greetings to all!
Related posts
-
 How to install an irrigation diffuser or sprinkler?
Once you've laid the main line throughout your yard according to your plans, equipped with the valves and piping you...
How to install an irrigation diffuser or sprinkler?
Once you've laid the main line throughout your yard according to your plans, equipped with the valves and piping you... -
 How to choose the best kennel for your dog
Provide your pet with a decorative, safe, and efficient kennel that allows them to sleep, rest, and be protected.
How to choose the best kennel for your dog
Provide your pet with a decorative, safe, and efficient kennel that allows them to sleep, rest, and be protected. -
 STEPS TO CREATE AN AUTOMATIC IRRIGATION SYSTEM
Implement an automatic irrigation system that allows you to have time without neglecting your garden.
STEPS TO CREATE AN AUTOMATIC IRRIGATION SYSTEM
Implement an automatic irrigation system that allows you to have time without neglecting your garden. -
 How to choose the best fertilizer for your garden
Choose the best fertilizer for the health and growth of your garden plants.
How to choose the best fertilizer for your garden
Choose the best fertilizer for the health and growth of your garden plants. -
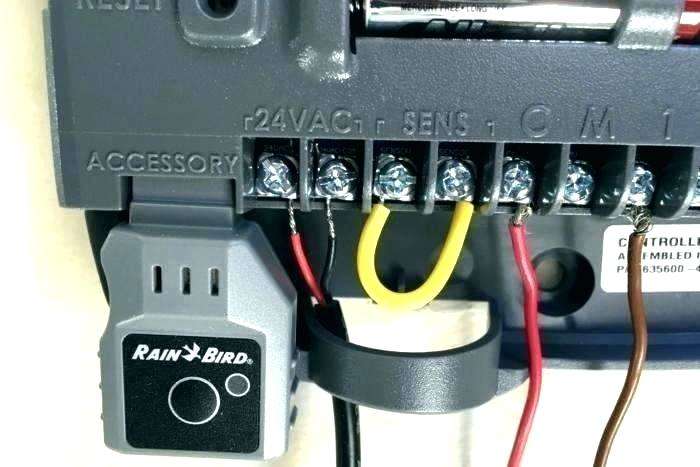
 RAIN BIRD ESP-RZX INDOOR AND OUTDOOR IRRIGATION PROGRAMMER REVIEW
If you are If you're a gardening enthusiast, you should choose a good irrigation controller that can keep your lawn...
RAIN BIRD ESP-RZX INDOOR AND OUTDOOR IRRIGATION PROGRAMMER REVIEW
If you are If you're a gardening enthusiast, you should choose a good irrigation controller that can keep your lawn... -
 10 Most Recommended Types of Irrigation Sprinklers
When you need irrigation sprinklers , choose one that sends large droplets of water close to the ground. These...
10 Most Recommended Types of Irrigation Sprinklers
When you need irrigation sprinklers , choose one that sends large droplets of water close to the ground. These...
Leave a comment